Commuter Bike Safety Checklist: Helmet, Lights, Gear & Security
Share
Quick answer: a practical commuter bike checklist starts with a correctly fitted helmet, working front and rear lights, secure cargo, reliable brakes and tires, and a parking plan. Check the setup before every ride instead of assuming yesterday's setup is still ready.
1. Check helmet fit before leaving
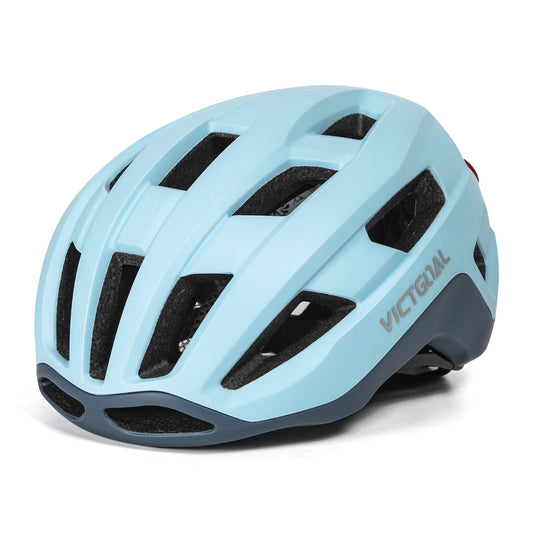
A bike helmet should sit level rather than tilted back, with the straps forming a stable shape around the ears. The chin strap should be snug without making normal movement uncomfortable. Measure head circumference before ordering and use the adjustment system for the final fit.
- Confirm the helmet sits level and does not shift easily.
- Check straps, buckle, fit dial, shell, and interior padding.
- Replace a helmet after a significant impact or when the shell, foam, or retention system is damaged.
- Verify the certification markings and supplied instructions required for your market.
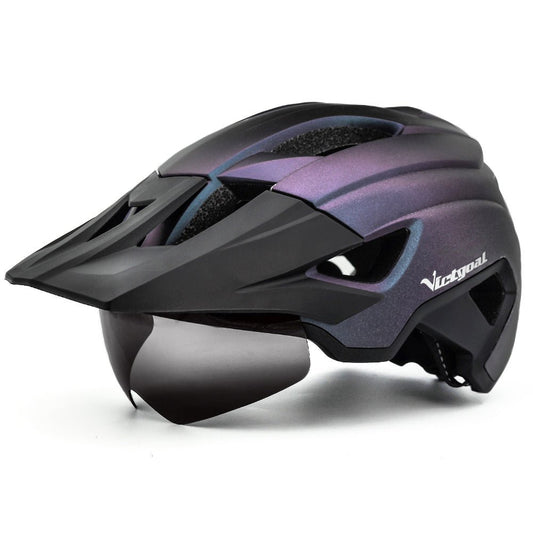
Compare bike helmets, including helmets with rear lights and helmets with magnetic goggles.
2. Use front and rear lights for low-light routes
A front light helps illuminate the route while a rear light adds a visible point behind the rider. Choose output and runtime for the streets, paths, weather, and ride duration you expect. A helmet light can be useful as a supplement, but it should not automatically replace bike-mounted lighting.
- Charge each light and check the battery indicator.
- Mount lights tightly and confirm clothing or bags do not block them.
- Aim the front beam below oncoming eye level.
- Choose runtime with extra capacity for delays and colder conditions.
- Follow local rules for steady, flashing, front, rear, and reflector use.
Shop bike lights, compare helmet lights, or build from the Night Riding Lights & Visibility Gear. For a deeper comparison, read How to Choose Bike Lights.
3. Inspect the bicycle contact points
Before entering traffic, check the parts that connect the bicycle to the road and the rider to the controls.
- Tires: look for damage, embedded debris, and visibly low pressure; inflate according to the tire and bicycle guidance.
- Brakes: squeeze both levers and confirm predictable engagement before moving into traffic.
- Wheels: confirm they are secure and rotate without obvious interference.
- Handlebar and saddle: check for movement that was not present previously.
- Chain and drivetrain: listen for unusual noise and address visible damage or poor operation before the commute.
If something feels unfamiliar or unsafe, stop and have the bicycle inspected rather than continuing the ride.
4. Carry only what can be secured
Loose items can interfere with steering, wheels, lights, or braking. Use a compatible bag and keep weight balanced.
- Keep phones, keys, cards, and tools inside a closed compartment.
- Check that straps cannot reach the wheel, chain, or crank.
- Confirm a handlebar or top-tube phone bag does not restrict steering.
- Keep lights and reflectors visible after the bag is loaded.
- Carry a compact tool only if you know how and when to use it.
Browse bike bags, bike tools and accessories, and Ride Add-Ons.
5. Plan parking and basic bike security
No bicycle lock is theft-proof, so use multiple practical layers where risk is higher.
- Choose a visible, permitted parking location and a fixed object.
- Lock through the frame; secure wheels when the situation calls for it.
- Do not rely on a cable, tracker, or alarm as the only security layer.
- AirTag-compatible accessories can provide a discreet tracker location, but tracking depends on device setup and the Apple Find My network and cannot guarantee recovery.
- Keep spare keys and purchase details in separate secure locations.
Compare bike locks and accessories or browse the Cycling Commuter Bike Light & Safety Kit.
6. Match clothing and eyewear to the route
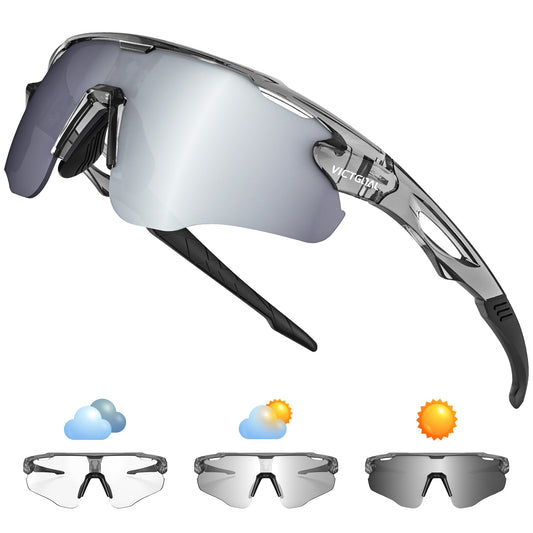
Choose clothing that stays clear of moving parts and suits the temperature. Cycling gloves can support grip and comfort, while appropriate eyewear can help shield the eyes from wind, dust, insects, and glare.
- Use photochromic lenses for changing light when the product specifications suit the route.
- Use polarized lenses when reflected glare is the primary concern.
- Check lens tint and bike lighting separately for low-light riding.
- Confirm gloves do not reduce access to brakes, shifters, or controls.
Compare cycling glasses, photochromic vs. polarized lenses, and cycling gloves.
60-second commuter bike checklist
- Helmet level, snug, and undamaged
- Front and rear lights charged, mounted, and visible
- Tires visually checked and appropriately inflated
- Brakes engage predictably
- Wheels, handlebar, and saddle secure
- Bag closed and straps clear of moving parts
- Phone and cargo secured before riding
- Lock, keys, and parking plan ready
- Route, weather, and local lighting rules checked
Frequently asked questions
What should every bike commuter carry?
The answer depends on route and skill level, but common items include a lock, phone, identification, payment method, compact light backup, and basic repair items appropriate to the bicycle. Secure every item so it cannot reach moving parts.
Is a helmet rear light enough for commuting at night?
A helmet rear light adds visibility, but a more complete setup usually includes dedicated front and rear bicycle lights selected for the route and local rules.
How often should I perform the checklist?
Use the short version before every ride. Perform a more detailed inspection after maintenance, a crash, unusual noise, poor handling, long storage, or severe weather exposure.
Does this checklist guarantee a safe commute?
No equipment or checklist can prevent every collision, injury, mechanical problem, or theft. The goal is to identify common avoidable issues before entering the route.
Build your setup: start with the Cycling Commuter Bike Light & Safety Kit, then compare Bike Helmets, Bike Lights, Bike Bags, and Bike Tools & Accessories.
Compare Commuter Gear Options
Build the setup around your route, daylight, storage needs and measured helmet size. Check each product page for current fit and compatibility details.
- Goggles Bike Helmet with USB Rear Light & Visor - compare its adult size ranges and visibility features.
- USB Rechargeable Headlight and Taillight Set - a front-and-rear option for a bike-mounted lighting setup.
- Hard-Shell Bike Seat Storage Bag - check capacity, strap fit, tire clearance and rear-light visibility.
Browse the Commuter Safety Kit and Ride Add-Ons for more route-specific options.